The Account Manager is where administrators can go to view, edit and add accounts to Ultra Commerce.
1. Create an Account
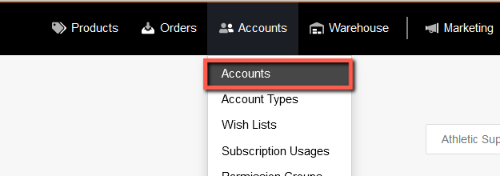
To access the Account Listing page, click on Accounts from the Ultra Commerce navigation toolbar, and select Accounts from the drop-down.
The basic information of all the accounts in Ultra Commerce can be viewed on this Account listing page, including each subscriber’s First Name, Last Name, and Email Address.

To create a new account, click the blue +Create Account button and the Create Account modal will appear.
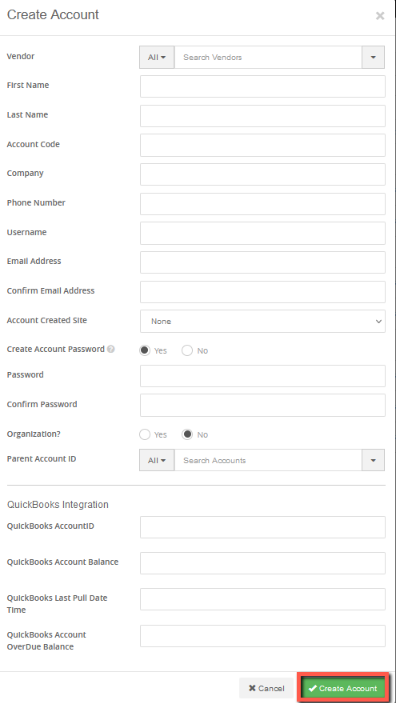
- Fill in the First Name, Last Name, Company, Phone, Email Address fields.
- The required fields are First and Last Name and Email address.
- Account Created Site: If the account is associated with a Site added to Ultra Commerce, select from the drop-down.
- Create Account Password: Yes or No. If Yes is selected, fill in the password and confirm password fields. If the account is a guest account, you may select No and bypass the password requirement.
- Organization: If the account will serve as an organization-level account, select Yes.
- Parent Account: Begin typing in the type-ahead field and then select the parent account, if needed.
- After filling out the information, click Save.
2. Edit an Account
Once you create the account, the account detail screen will display. There will be additional tabs below the Basic information that was saved, as well as an Actions menu that allows for changing or creating passwords, adding in account information, merging accounts, etc.
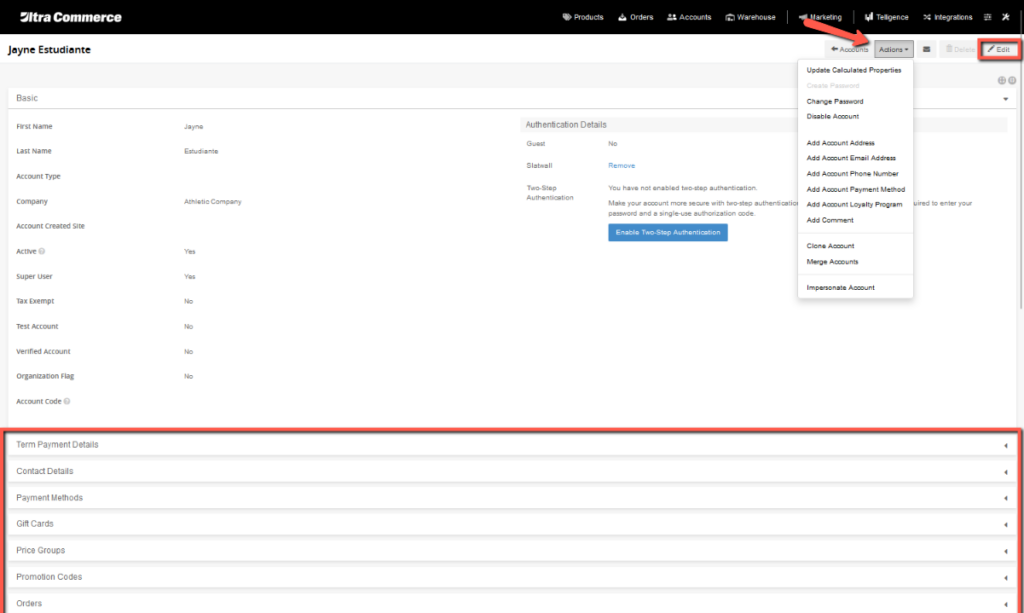
To open the Edit Account page from the Account listing page, click on the pencil button located on the right-hand side of the account listing page.
Some examples of information you may want to add or edit from this page include:
- Contact Details (addresses, email, phone numbers)
- Payment Methods
- Permission Groups
- Price Groups
- Orders & Carts
3. Two-Factor Authentication Instructions
- First, all admin users who will be using Two-Step Authentication will need to have the Google Authenticator app downloaded on their smartphone (supported on both iPhone and Android). They will need to be able to access this app every time they sign into Ultra Commerce.
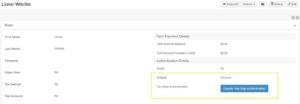
- When logged into Ultra Commerce and viewing their own account, the user will see “Enable Two-Step Authentication” in the upper right.
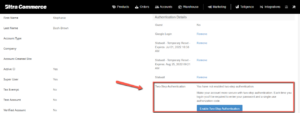
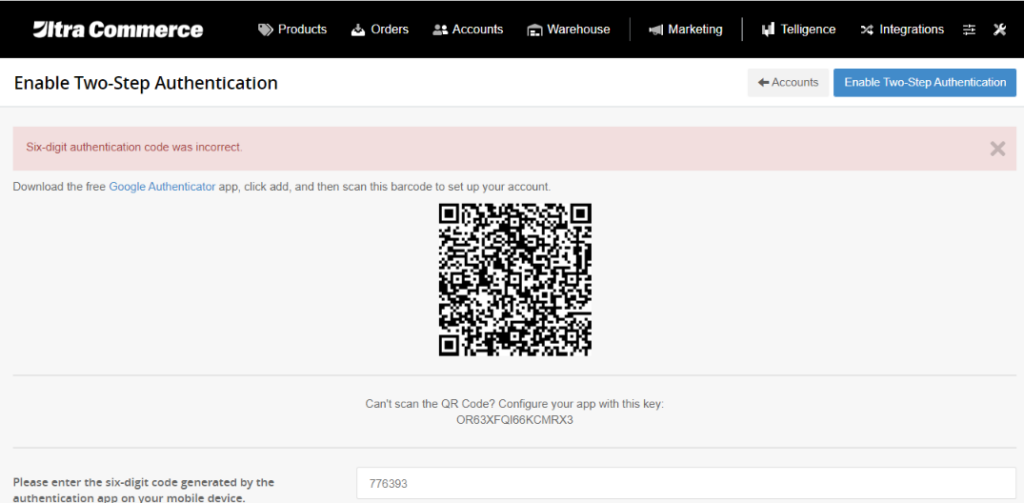
- To begin the process, the user will click on the button and a modal window will appear.
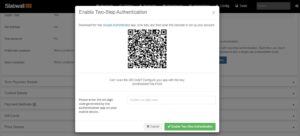
- The user will open the Google Authenticator app on their phone and use the “+” button in the upper right to add an account. They can either select “Scan barcode” or “Manual entry”.

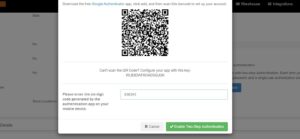
- a. If the user selects “Scan barcode”, they will be prompted to scan the QR code shown in Ultra Commerce. They will be brought back to the home screen of the app. Their account will be entered automatically.
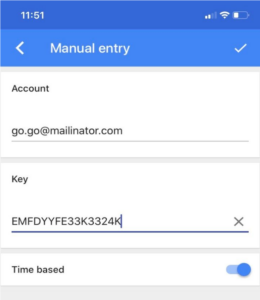
- b. If the user selects “Manual entry”, they will be prompted to enter their account (email address) and key (presented below the QR code in Ultra Commerce). The user must have Time Based enabled for it to work with Ultra Commerce. They then use the checkmark to confirm and are returned to the home page of the app.
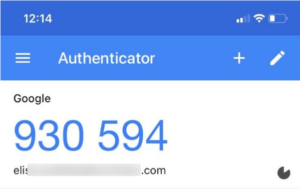
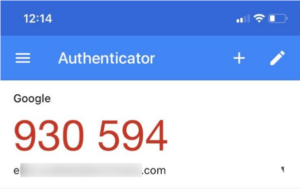
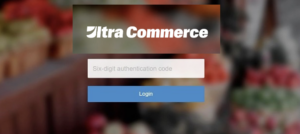
- The user will be presented with a 6-digit code from the home screen. They will need to enter that code back in the modal in Ultra Commerce in order to continue.
- Because the codes are time-based, they will expire if the user does not enter the code within a certain time frame (about 30 seconds or so). If the code is shown in blue, it is good to use. If the code is shown in red, it is expired and will refresh momentarily.
- If the user enters a valid code and continues, they will be returned to their account page. Two-Step Authentication will now be enabled, and any time the account attempts to log in to Ultra Commerce a new 6 digit code will be required.
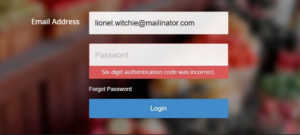
- If the user enters an invalid code and continues, on either initial setup or after setup, on subsequent login, there will be a validation message shown. The user will need to add a valid code in order to continue.
- If the user wants to disable Two-Factor Authentication, there is an option from their account in the same upper right area to do so.
Note: Users with 2-factor authentication enabled cannot log into the frontend store with the account that has the authentication enabled. They would need a new test account to access the frontend store.