The Order Templates section of Ultra Commerce allows for the creation and management of recurring orders all in one place. Billing and Shipping information, delivery frequency and next order delivery date can be selected and later edited. Order items can be added or removed. Orders are automatically created and an order history is viewable here.
1. Order Template Settings & Preconfiguration
Prior to using Order Templates there are some Settings that need to be set. Below is a quick overview of these settings.
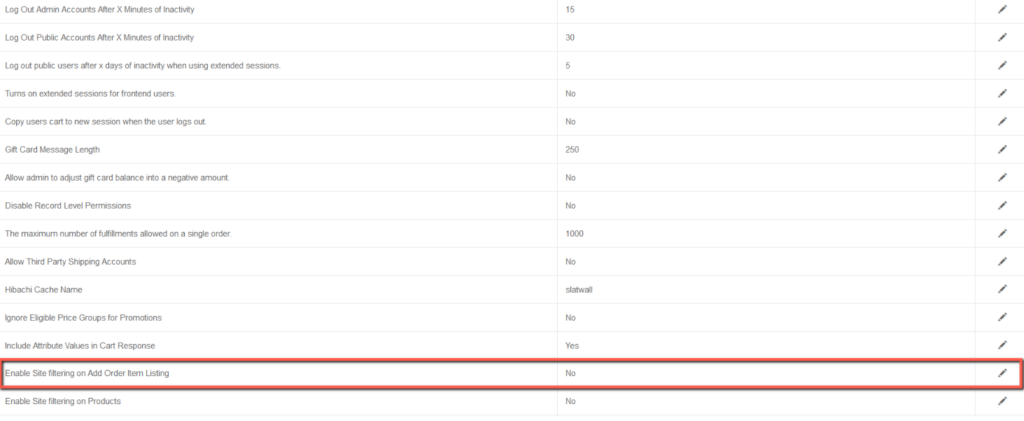
- Enable Site Filtering on Add Order Item Listing via Global Settings under the Config menu.

On the Global Settings tab you will find the Enable Site Filtering setting – make sure to set it to Yes.
- Navigate to Order Template Settings
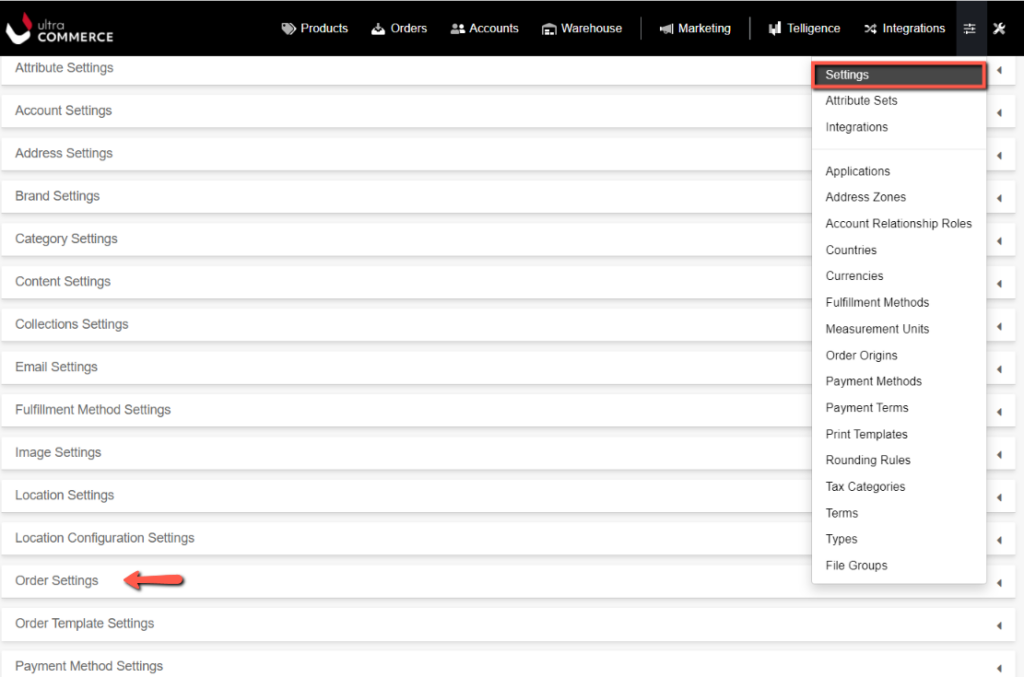
The expanded Order Settings tab has several settings that can be set by clicking the pencil icon to the right of the desired setting. Below is a description of each setting.
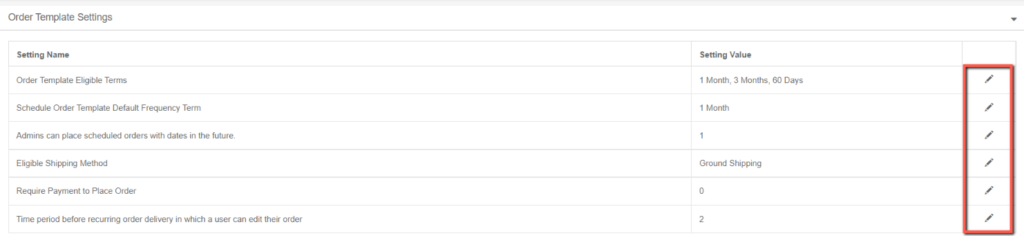
- Set Order Template Eligible Frequency Terms
- Set Schedule Order Template Default Frequency Term
- Enable or disable the ability for admins to place scheduled orders with dates in the future
- Set Eligible Shipping Methods
- Enable or disable Require Payment to Place Order
- Set time period before recurring order delivery in which a user can edit their order
2. Create an Order Template
To view the Order Templates listing page:
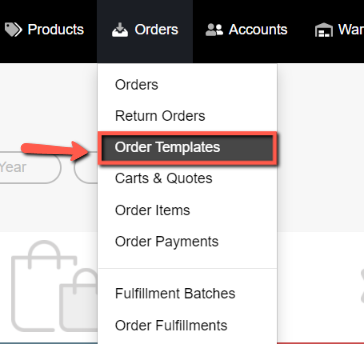
- Click Orders on the Ultra Commerce toolbar and
- Select Order Templates from the drop-down.
From the Order Template listing page you can either view or edit by clicking on the pencil or eye icon to the right of the desired existing template or create a new one by clicking on the create button.

To create a new Order Template:
- Click +Create Order in the upper right hand corner of the screen.
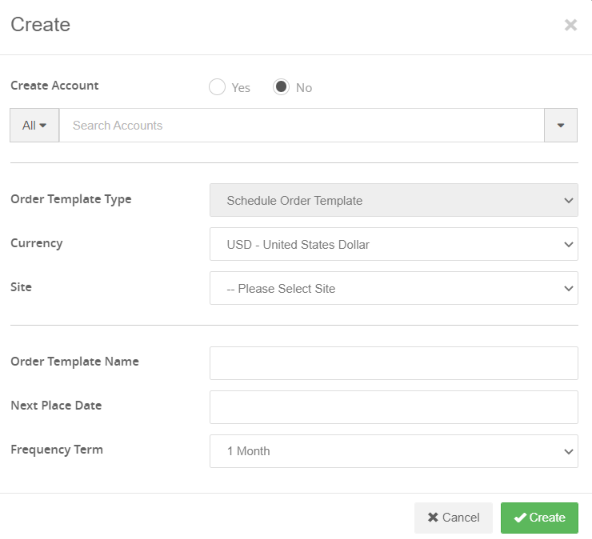
From the Order Template Modal:
- Select an existing account for the order template by using the Search Accounts field and keeping Create Account set to No or:
- Set Create Account to Yes if you would like to create a new account when you create a new order template.
- Order Template Type – this field is set to Schedule Order Template.
- Currency – select a currency from the available ones in the dropdown for the order template.
- Site – select a site from the ones available for the order template. Sites that appear here are created in the Site section of Ultra Commerce.
- Order Template Name – give the order template a name.
- Next Place Date – select a next place date using the date picker which will schedule the very next order and delivery date.
- Frequency Term – set this to the desired recurring frequency.
- Click Create.
The Order Template detail screen will display.
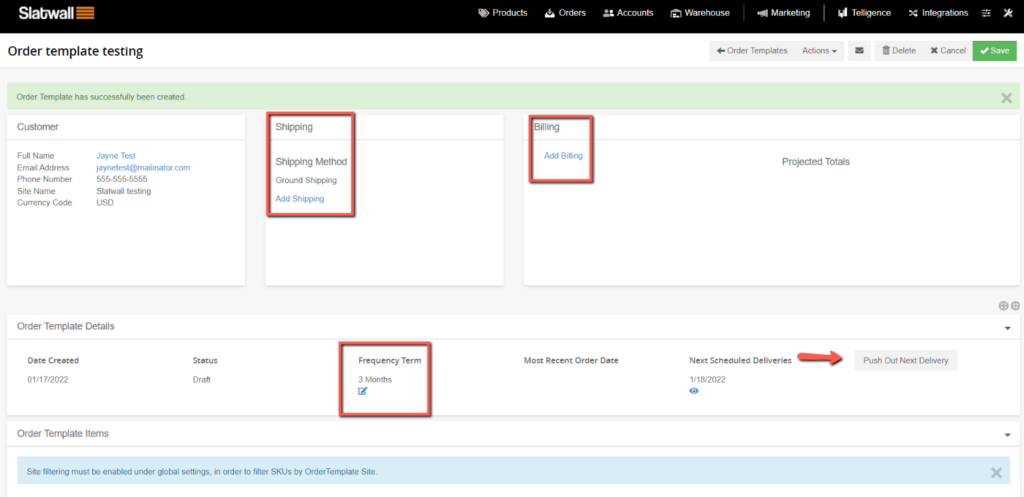
You can Add Shipping addresses in the Customer section of the detail screen if there is no shipping address associated with the account on the order template.
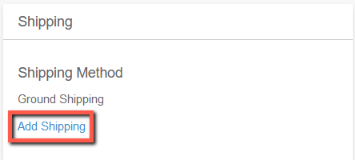
- Click the Add Shipping link and the Edit Shipping Information modal will appear.
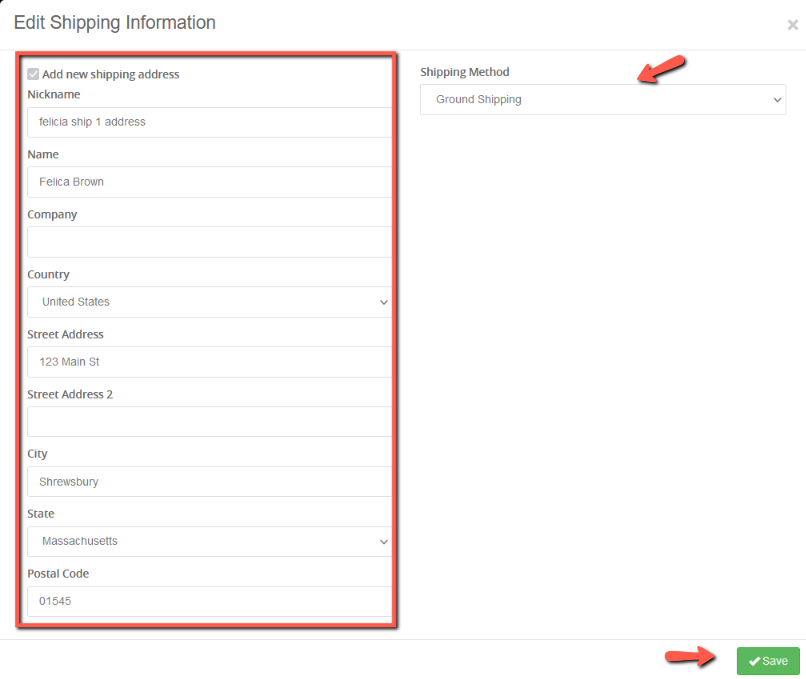
You can also Update Shipping information if this is an existing account that already has a shipping address associated with it. You can select from existing addresses or add in another Shipping address from this screen.
If this is a new or existing account that does not have a billing information added for the account, click the Add Billing link
 and the Edit Billing Information modal will appear.
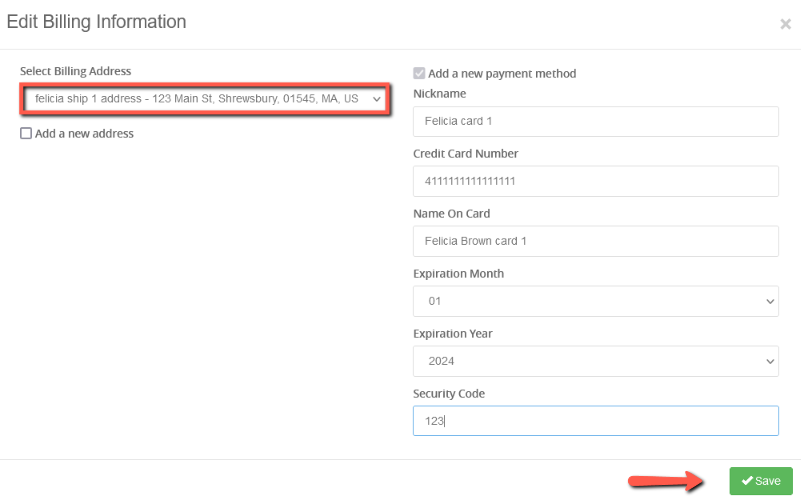
If the account on the order template already has billing information, additional payment methods and billing addresses can be added, or the selected billing information can be changed.
3. Add Order Template Items
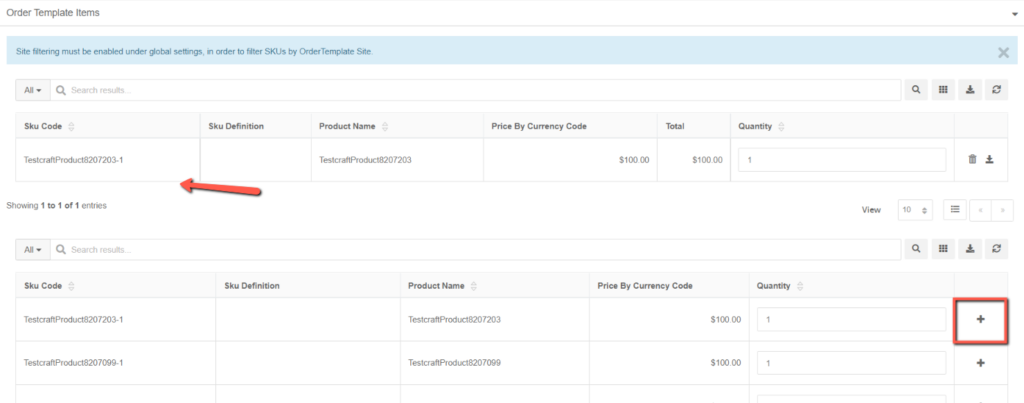
You can add order items to the Order Template from the Order Template Items tab:
- Click the plus + sign to the right of the desired order item after adjusting the quantity using the Quantity field.
- The items you add to an order template are listed at the top of the Order Template items tab.
4. Finalize Order
Once you are satisfied with the order template it is time to finalize the order. This is only done once when your order template is still in Draft mode.
From the Actions menu,
- click Finalize Order Template from the dropdown.
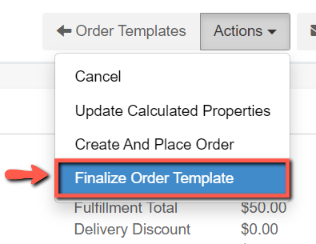
The order template will now have an Active status.
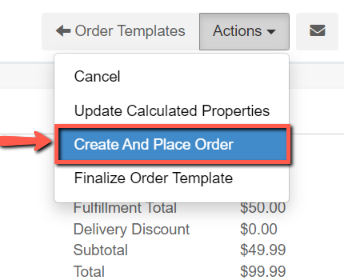
5. Create and Place Order
Once the order template has been finalized, an order can be created and placed.
To manually create an order:
- click on the Actions menu & Create and Place Order.
An order will be created and placed automatically and will appear on the Order History tab of the Order Template.
To set up automatic orders, you’ll want to create a workflow to handle this action.